Monday, November 26, 2012

Front Porch Improvements- Prepping Phase

The first day back to work after a few days off is always the worst. Add that to my normal "end of the month craziness" and I am barely keeping my head above water! So while I should be chugging along at the work I brought home for the evening, I would much rather blog about some projects we have been working on. So without further ado...

Last weekend the porch projects continued. When I removed our old metal fence, it left us with some wounds that needed to be repaired. I already had a stucco patch and color matched our house paint from my house number project. So this project was 100 % free ( well at least that's how it started).


Clearly my house was once teal! 
 Some of the areas had foam pads and adhesive that needed to be removed. We also has several anchors that needed to be pulled out.

 I was able to use the same 8-in-1 tool I purchased for my front door painting catastrophe. It did the trick and easily removed all the sticky residue.

Next I washed all the areas that needed to be patched with warm water and Mr. Clean. Oh, and check out my audience for the day:
Lily LOVES looking out the window! 
Next  was the the patching. I took my time going from column to column patching each square until things were nice and even.

 Even though the stucco dried fairly quickly, I let it set overnight before sanding and painting over my patches. I was very surprised that it covered with only one coat of paint!
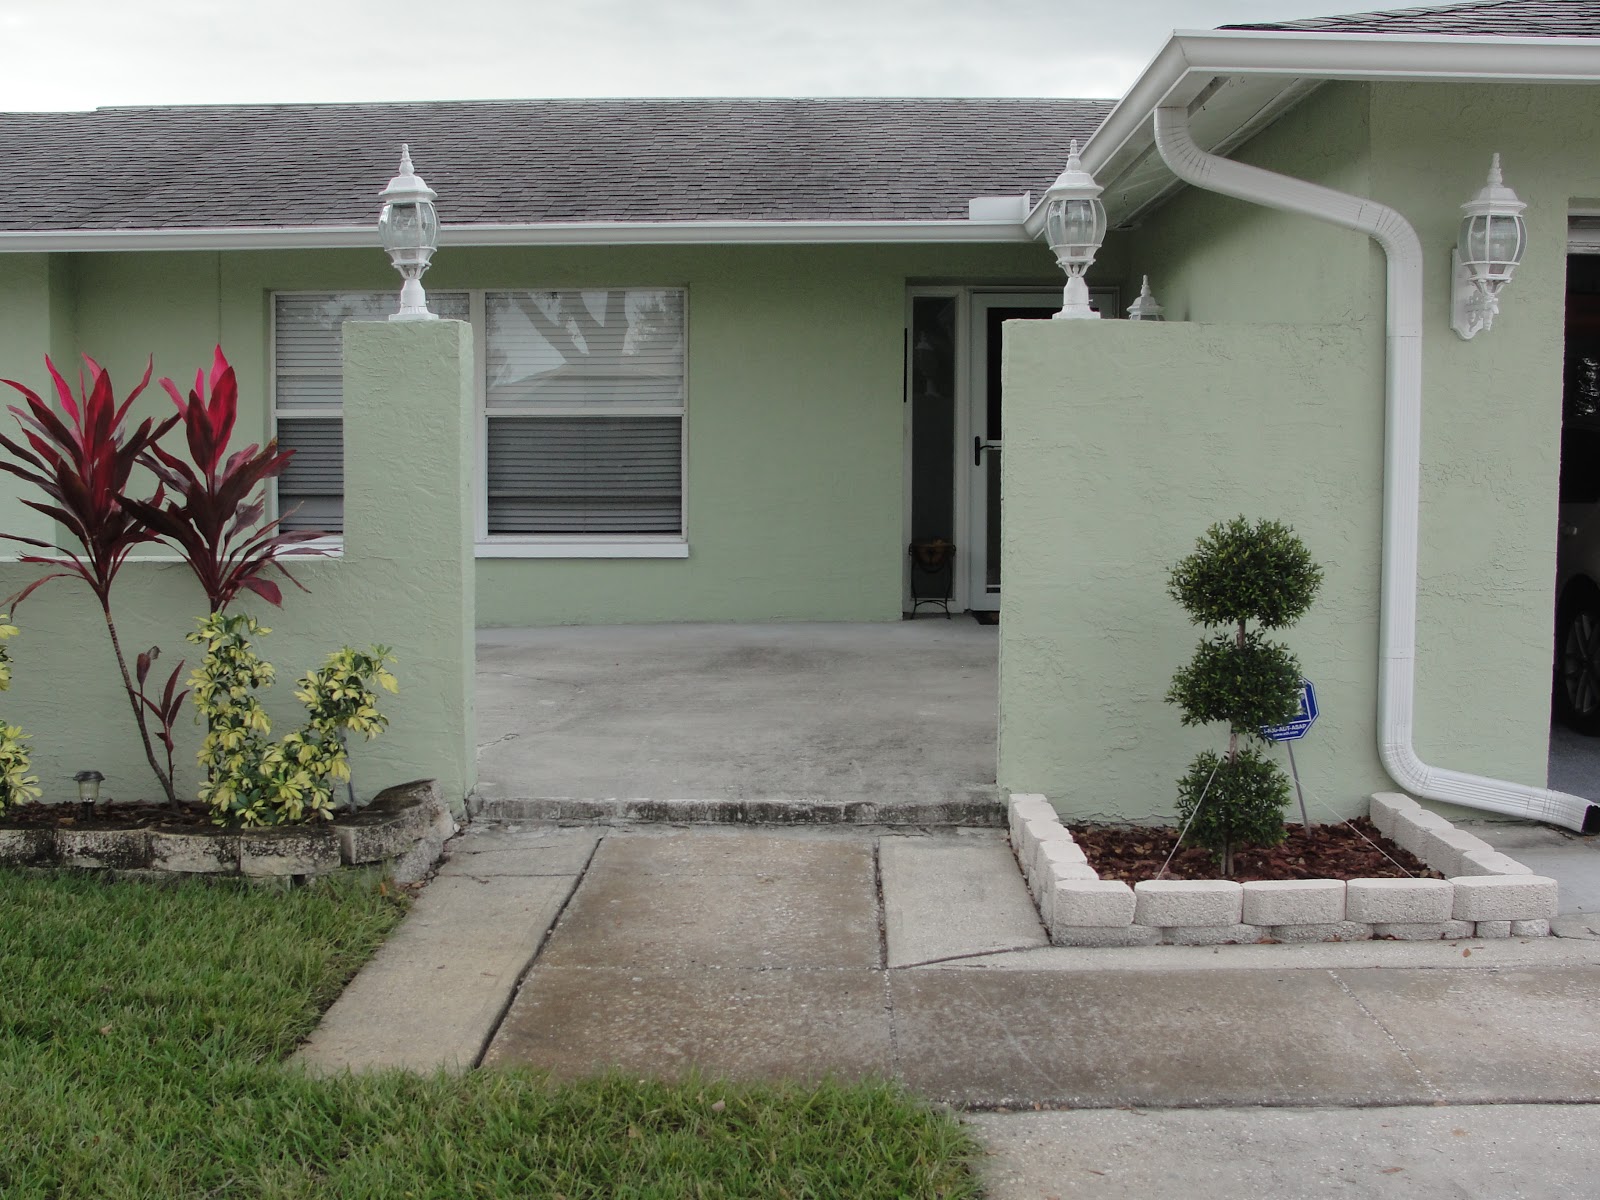
To the left as you walk thru the gate opening, before and after. 

While I was patching away, Tim decided to take down one of the MANY lights. We are still pretty uncertain about what we want for lighting in this area however, we both knew the existing lights MUST go!  So down they came!

Honestly, who needs this many lights?
 Here is a before and after with the lights removed:


We simply capped off and covered the electrical box on each column. For now, I like it without lights however the electrical is still there if I change my mind once we get closer to our vision!

So here comes the part of the project that morphs into two additional projects. We decided that since we took down the above mentioned lights, we should really just take down all the outdoor lighting and "start over".  I have been itching to switch out the lights for something less ornate and white, perhaps Oil- rubbed bronze? At this point, Tim also decided he hated our solar lights and wanted to replace them too! I still have to take pictures of the final products and then I will post more on that!

Saturday, November 24, 2012

No Soliciting

A few weeks back, I posted a "No soliciting" quote I came across on facebook. Well... Tim and I both loved it so much, that we tracked down an Etsy seller, American at Heart, who made a sign with the phrase on it.

It came about a two weeks ago but since we were planning on hanging it outside, we needed to add two coats of polyurethane before exposing it to the elements. So I set up my painting station (an upside down trashcan in the front yard) and set to work.

I actually used the same can of poly I used for the Name Sign I made earlier this year along with a foam roller.
I applied one very thin layer along the front and all four sides. After about an hour in the sun, I applied the second coat. I let it dry outside the remainder of the day.

The poly was satin finish so it added a little bit of sheen but nothing too dramatic.  The next day, it went to its new home, right over the doorbell.
Two of the three dogs were quite curious as to what I was doing! 


Now, I am not sure if it will actually deter solicitors but it should spark some interesting comments! :)

Sunday, November 18, 2012

Roasted Tomato & Kale Pasta

Fun fact: I HATE tomatoes. Roast them and I LOVE them. I think it is a texture thing. Anyway, this is one of my favorite go to receipes. It is excellent leftover AND the husband likes it! Sometimes, I will roast the tomatoes a day or two ahead of time and store them in the fridge before making the rest of the meal...still turns out great. I have added meat before (chicken) but honestly prefer it without. We try to go meatless at least one night a week over here so this is a perfect meal! 


Ingredients for Roasted Tomatoes:
2 pints (more if you like) Nature Valleys Cherub Tomatoes (or other kind of cherry tomato)
2-3 Olive Oil
1 TBSP Garlic powder
1 TBSP Onion powder
2 TBSP Romano cheese
1 TBSP Basil
1 TBSP Italian Seasoning
½ TSP each of Salt and Pepper.

Remaining Ingredients:
½ package of Whole Wheat spaghetti/ angel hair noodles
1 small sweet onion, chopped into thin strips.
1 TBSP minced garlic
½ bunch of Kale (can add more or less)
2 TBSP Romano Cheese
2TBSP Olive Oil
1 TBSP Basil

Cut the tomatoes in half lengthwise and place on a baking sheet. Coat the tomatoes in oil and spices. Mix well so they are covered in spices. Bake on 400° for a minimum of 40 minutes.

While the tomatoes are roasting, cook up some whole wheat pasta. I am notorious for cooking more pasta then needed. I would say about ½ package is ideal. When the pasta is done, just let it drain in the strainer, you want it to be relatively dry.

Next, add some spray Olive Oil to a large skillet. Chop up an onion and sauté with 1 tbsp. of minced garlic. When translucent, add the kale (be sure to toss the stems as this is thr "tough" part of Kale). I usually loosely chop the Kale before adding it in.

When the tomatoes are done roasting, add them to the same skillet with the kale and onions. Next add your pasta, handful by handful until you get to desire tomato/pasta ratio. Then add 2 tbsps. more Olive Oil, 1 TBSP Basil and freshly grated Romano. Mix thoroughly before serving. 

Wednesday, November 14, 2012

Front Porch Improvements- Phase 1

Toward the end of July, I started getting a few estimates on replacing the metal railing in the front of the house (It was the very last item on my 2012 List). We have a 500 sq ft area in the front of my house I lovingly refer to as "the basketball court". Its awkward! There is half a cement wall topped with metal fencing, columns topped with excessive lighting and a broken gate. Here is a glimpse back before we moved in: 
The area to the left in the photo above.
I decided I wanted to replace the metal fencing with something vinyl and less ornate to blend in more with the house and our style. I got two estimates: One from the company that replaced our fence and the other a local company recommended by my mother. Both estimators were sure to remind me to take the existing fencing to the scrapyard as they believed I would get a decent amount for it.  The estimates came in within $100 of each other but wanted permits and surveys. I didn't really understand why since we were not adding anything or going anywhere near the perimeter of my property. I decided it was more than I was ready to take on at that time.

We have been saving money, hoping to tackle this project before the end of the year. About three weeks ago, I passed a fencing company while driving to the office and they had a different style of vinyl pickets that I LOVED. I called and scheduled an estimate for the following week. The estimator was a former mental health professional so immediately we hit it off. He came in with the best price AND stated no permit was needed! After reviewing everything with Tim, we decided to move forward and are scheduled for new fence installation on 11/29.

So last Wednesday, I decided we should take down the existing metal fence, load it in the truck and take it to the scrap yard. This is what it looked like when we started:
Taken from the front door, looking left. 

Taken from the front door, facing the street. 

And this is what it currently looks like:


It definitely feels a lot more open! We took the metal fence to the scrap yard on Friday and got a grand total of $16.20 which was definitely a disappointment! This project will be ongoing and likely occur in phases as the budget permits. I finally have a vision of how to utilize this space but there is still a lot to be decided. This weekend we will be patching and painting the stucco in preparation for the new fencing installation. We still haven't decided which lights we want to keep nor have we picked out new fixtures. We haven't decided on the flooring either: tile, stamped concrete, or pavers. The goal is to build a fire pit, add a rug and a conversational piece. No idea when this will all get done but it is nice to finally have a direction for the "basketball court".

Monday, November 12, 2012

Aspect Backsplash Reveal

Over two months later, I finally got around to taking pictures of the finished backsplash. Honestly, my kitchen is rarely clean during the work week so that is one huge reason behind the delay.

So here we go... This is what our kitchen looked like when we moved in. This is actually before the new microwave was installed above the stove. We have a small galley kitchen so there is not a ton of wall space which kept the cost of the backsplash fairly low for us.
Not too much has changed since then, aside from switching out the faucet. We started with the stove side of the kitchen and began in the center of the wall and worked our way out.
We did not trust the peel and stick adhesive alone. I cook daily and wasn't sure if the adhesive would hold up to the heat in the kitchen. So, we applied the tiles using Loctite adhesive. Despite this is was a relatively easy installation process. The worst part? The cuts! The Aspect website offers various cutting method but you WILL need a chop saw. We also used a table saw for certain cuts.

We quickly reached the other side of the room...

However, things became much more difficult at this point. See my kitchen wall used to be an exterior wall and therefore has a "window" cut out that looks into the addition that was added in 1997. Add walls that run off and we have a cutting nightmare. I really wanted to tile all the way to the ceiling around the "window". This is the area I am referencing:

At this point, we decided it was not all going to get done in a day. We were tired and frustrated with all the odd cuts. We tackled it again the following weekend and this is what it looks like now.


The only other change is that we switched out the white switch plates for stainless steel. We are really pleased with they way it turned out. It has been up over two months and we have had ZERO issues or complaints. It is super easy to clean since there is no grout. We just wipe it with stainless steel cleaner when we clean our appliances.

Cost of tiles, adhesive and new switch plates was slightly over $300. So while Aspect tiles may not necessarily be cheaper than a traditional tile backsplash, it is great, easy DIY solution to changing the look of a kitchen.

While I love the look of the subway tile with the Santa Cecilia granite... Apect just came out with a new matte stainless Honeycomb design. Sadly, I am a little to late on that one :)


Sunday, November 4, 2012

Welcome November

We had a fun yet productive weekend. Saturday was a neighborhood yard sale. We didn't do much prep for it but ended up making around $200 which isn't bad for 4 hours of sitting outside in the gorgeous Fall weather.

Speaking of Fall, this weekend the Halloween decorations went away. Out came the more traditional Fall decorations...
 Saturday night we went to the 11th annual Safety Harbor Food and Wine Festival. It's a fun event that supports local charities. We met up with some friends, walked the festival and ate dinner at Nantucket Bucket.
Today we went to church, dropped off left over garage sale stuff at Goodwill, and did a little shopping at Nature's Food Patch. We squeezed in a trip to the gym, washed both cars and prepped for the week ahead.

GREAT weekend!

Wednesday, October 3, 2012

Midweek Confessions

+ I woke up this morning with a sore throat. Not that there is ever a good time to get sick but this week is really not a good time.

+ You can tell that the time change is quickly approaching. The daylight hours are definitely becoming shorter. Because it is so dark in the mornings, we have all been sleeping in till 7:30 which makes the morning a little too rushed.

+ I am SO glad to put September behind us! It was a rough month for the Harrigan's. One of the cars was in the shop the majority of the month footing a $1600 repair bill. Between the added cost and being a one car couple, it was a stressful month. On top of that we had a bunch of other unexpected expenses including broken phones, weed wackers and a hefty school bill. Hello, October you are a welcome sight :)

+ While I have still been running, I am becoming increasingly aware of how quickly December is approaching. I am not feeling so prepared for the Color Run.

+ I have been OBSESSED with Iced Cinnamon Coffee from Dunkin. Like hitting up the drive-thru everyday obsessed. Sadly, I am also realizing how quickly this adds up and need to calm it down.

+ We had friend's over on Sunday and they brought their 5 month old doxie pup. This is the result of their play date:


+ Speaking of Lily, the food and tummy issues continue. I am feeling very frustrated with the whole situation. The vet has found nothing wrong with her yet she has unexplained stomach issues and is super picky. We have eliminated duck from her food, tried a medication, switched to a simple diet with limited ingredients...nothing works! Today, I made another trip to my favorite store, Dog Lovers, and the employees were super helpful and understanding. I am keeping her on her regular food she loves and adding a pro biotic...fingers crossed that this is a solution!
+ This morning, it was pouring right around the time I needed to leave for work.  I didn't pull the car into the garage last night for some reason. I run a group at 9:00 am and knowing that I had a room full of people waiting on me, my sweet husband ran out in the rain and pulled my car into the garage so I wouldn't show up drenched. Little things like this make me remember how blessed I am.
End of code